
Blog
How To Paint Battle Damage On T13 Armor
Jan
Mastering Battle Damage Techniques on T13 Armor
Introduction to Weathering Effects
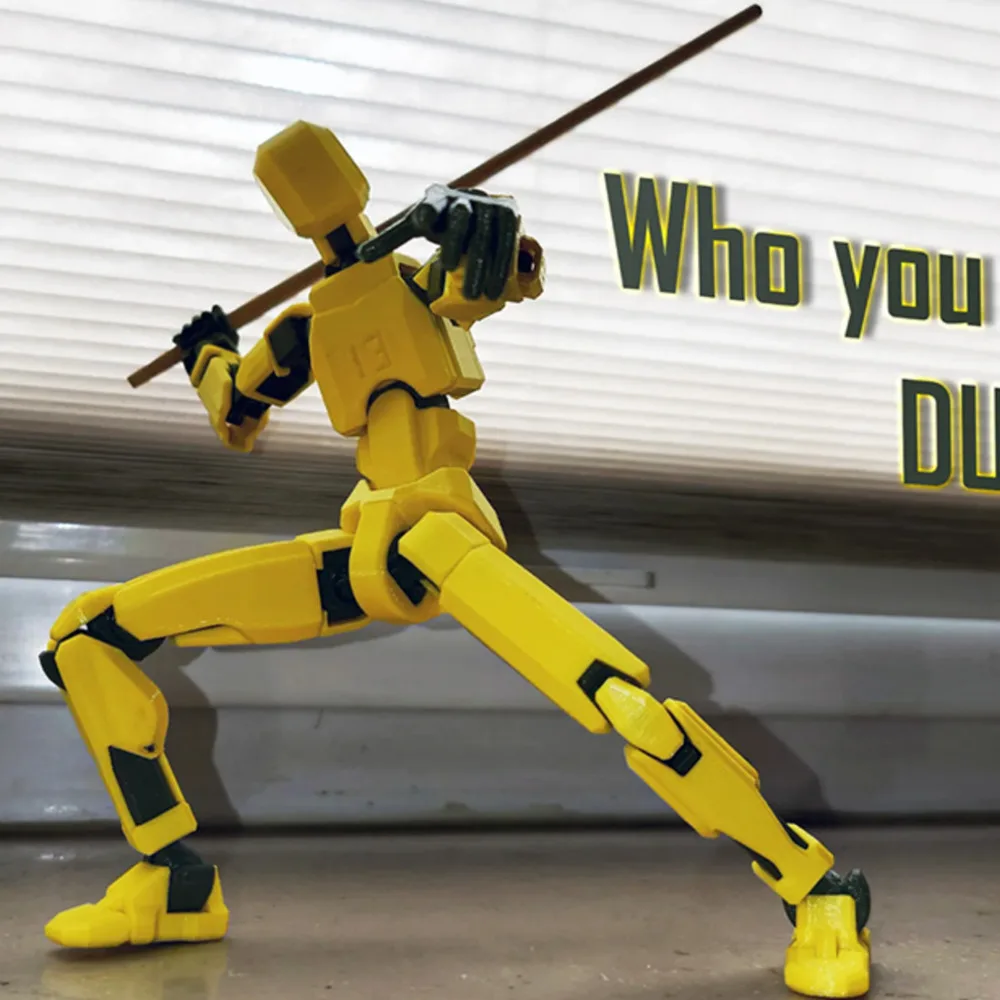
Creating realistic battle damage on T13 armor can substantially enhance its visual appeal and authenticity. By employing various techniques, you can simulate the wear and tear of combat, making your model stand out. This guide will explore effective methods such as dry brushing silver for metallic effects, using a heated needle for bullet holes, and applying a black wash to accentuate details.
Dry Brushing Silver: Simulating metal Wear
One of the most effective techniques for depicting metal wear is dry brushing with silver paint. This method involves lightly applying a small amount of silver paint onto a brush and then removing excess paint before gently dragging it across the edges of your armor piece. The goal is to create subtle highlights that mimic the natural wear from scratches and impacts.
Steps for Effective Dry Brushing:
- Select Your Brush: Choose a stiff-bristled brush that allows for precise control.
- Prepare Your Paint: Use high-quality metallic silver paint; acrylics work well due to their rapid drying time.
- Load Your Brush: Dip the brush into the paint, then wipe off most of it on a paper towel or cloth.
- Apply Lightly: With minimal pressure, drag the brush along raised edges or areas where metal would naturally show signs of wear.
This technique not onyl adds depth but also enhances realism by highlighting areas that would typically experience more friction during use.
Creating Bullet Holes with Heat
To add an extra layer of realism to your T13 armor, consider creating bullet hole effects using a hot needle or similar tool.This method allows you to craft convincing indentations that suggest impact damage.
How to Create Bullet Holes:
- Heat your Tool: Carefully heat up a needle over an open flame until it’s sufficiently hot.
- Mark Impact Zones: Identify where you want bullet holes; these should be in logical locations based on your design narrative.
- Create Indentations: Gently press the heated needle into the plastic surface at each marked point until you achieve desired depth and shape.
- Cool Down Safely: Allow any melted plastic around these areas to cool before proceeding with painting.
This technique provides an authentic look by mimicking how real materials react under stress from projectiles.
Enhancing Details with black Wash
A black wash is essential for bringing out panel lines and intricate details in your model’s design while adding depth overall. This technique involves diluting black paint with water or medium so it flows easily into crevices without overwhelming other colors.
Applying Black Wash Effectively:
- Mix Your Wash: Combine one part black acrylic paint with two parts water (or medium) until smooth.
- Apply Generously: Using a soft brush, apply this mixture over all surfaces where detail needs enhancement—focus especially on panel lines and joints.
- Wipe Excess Off quickly: After application, use a clean cloth or sponge to remove excess wash from flat surfaces while leaving it in recessed areas.
- Seal It In Place: Once dry, consider sealing your work with matte varnish for durability without glossiness.
The result will be enhanced contrast between different elements of your armor while emphasizing its battle-worn character effectively.
Conclusion
By mastering these techniques—dry brushing silver for edge highlights, creating realistic bullet holes using heat tools, and applying black washes—you can transform standard T13 armor into an remarkable representation of battle damage that tells its own story through visual cues alone! Embrace creativity as you experiment with these methods; each piece becomes unique through personal touches reflecting individual artistry in modeling craftsmanship!